In color-key shots, an object of the photo composition is highlighted by making it appear in the original color, while the rest of the image is only shown in shades of gray or black and white. There are several ways to achieve this effect. You can work very precisely with the clipping tools and the layering technology of the photo editing programs Photoshop (Adobe) and Gimp (OpenSource). There are many tutorials that explain the sometimes very complex work steps involved in these programs. A very simple technique that also leads to quick results works e.g. with the program Lightroom (Adobe), which also has a rudimentary level technology. The workflow is shown below:
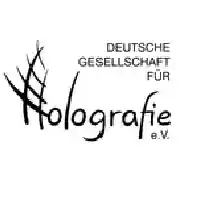
1. The first picture shows the original source photo in the editing area of Lightroom as a screenshot, from which we want to create a color key picture. The aim is to color one of the colorful umbrellas from the umbrella alley in Bucharest, while the rest of the picture should appear in shades of gray.

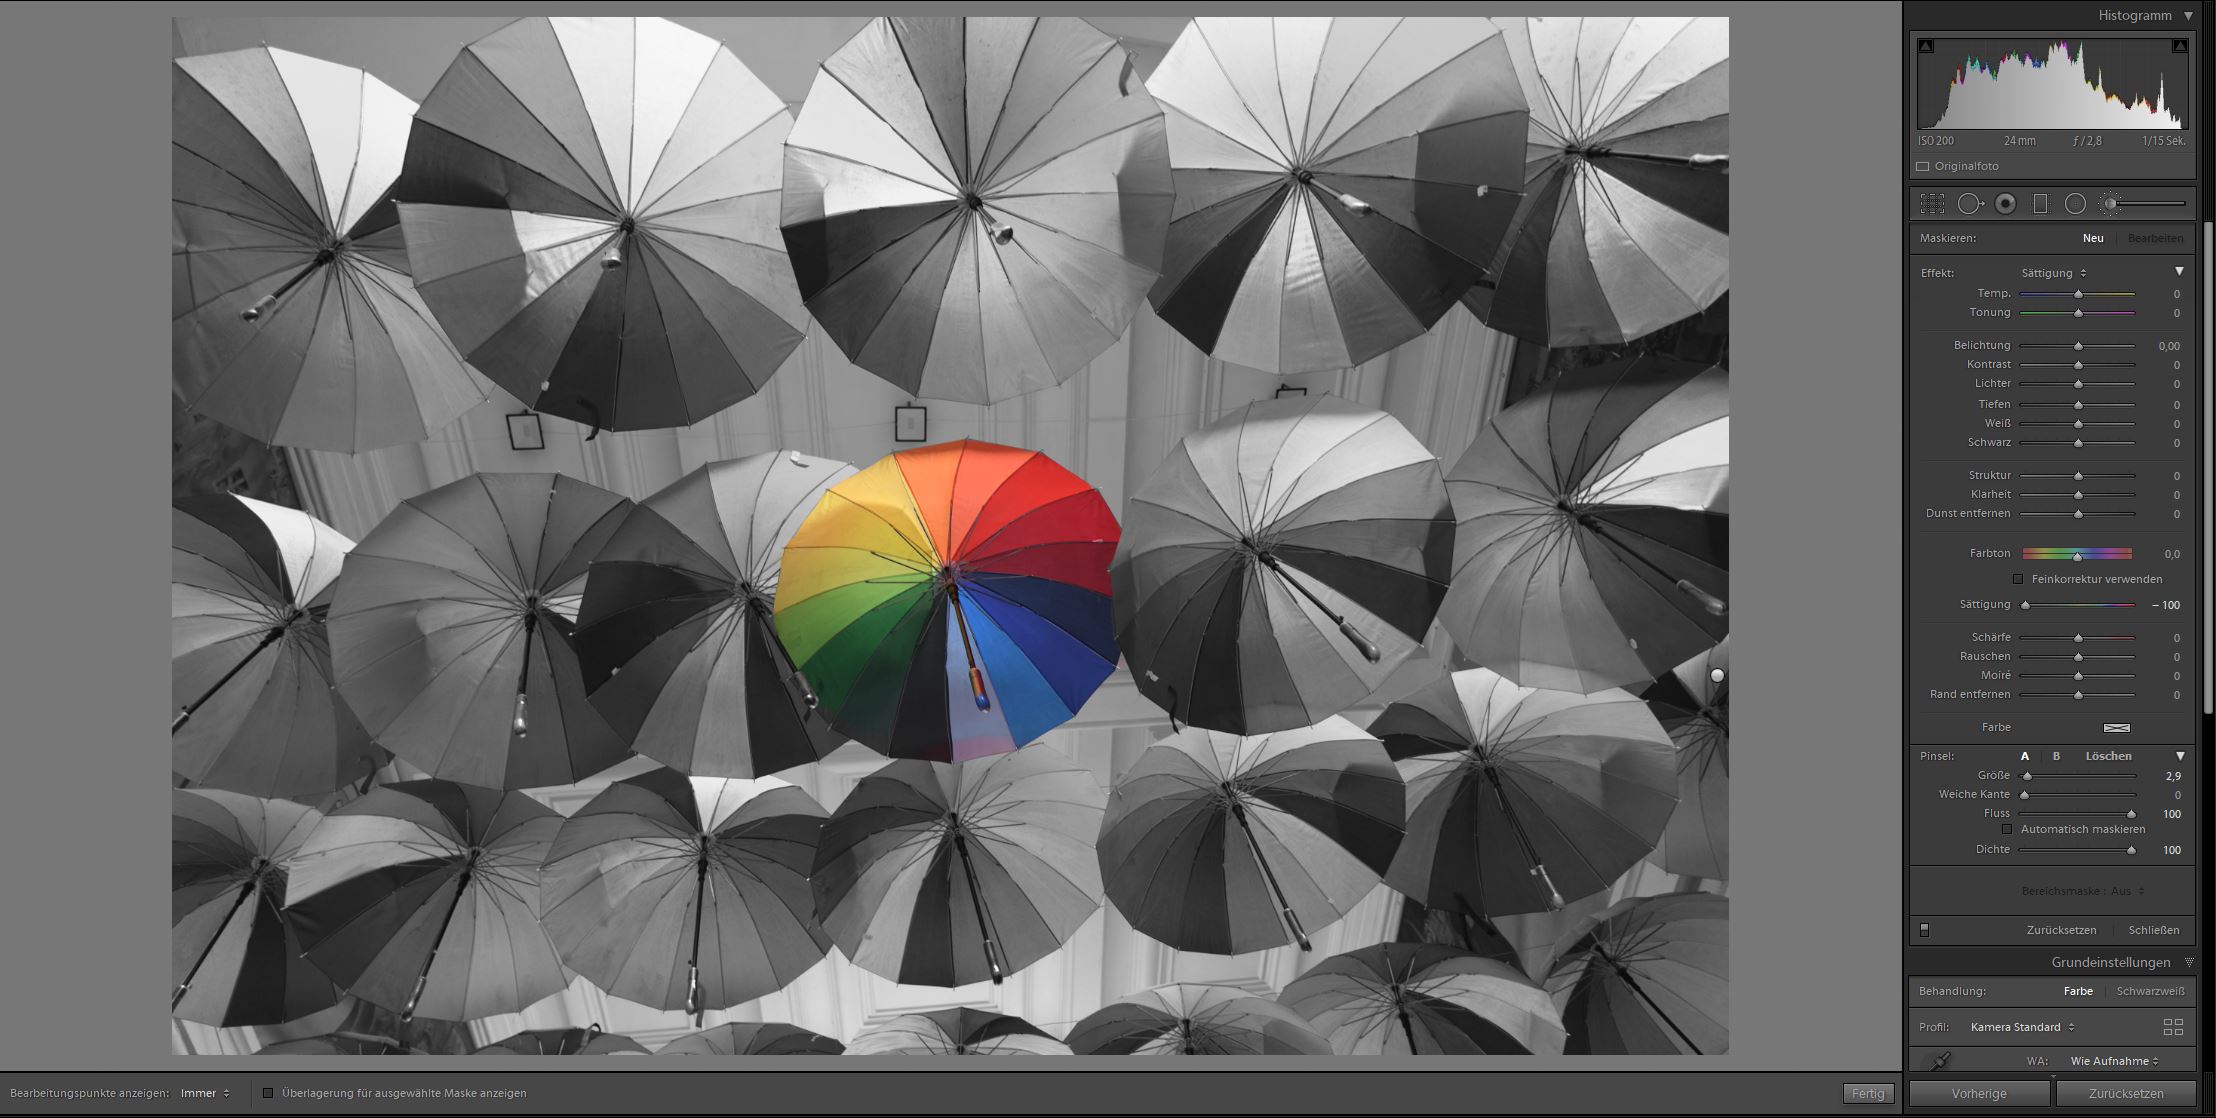
2. For this purpose, the "Brush" is selected as the editing tool in the editing menu of Lightroom and the associated setting options appear (shown on the right in the picture).
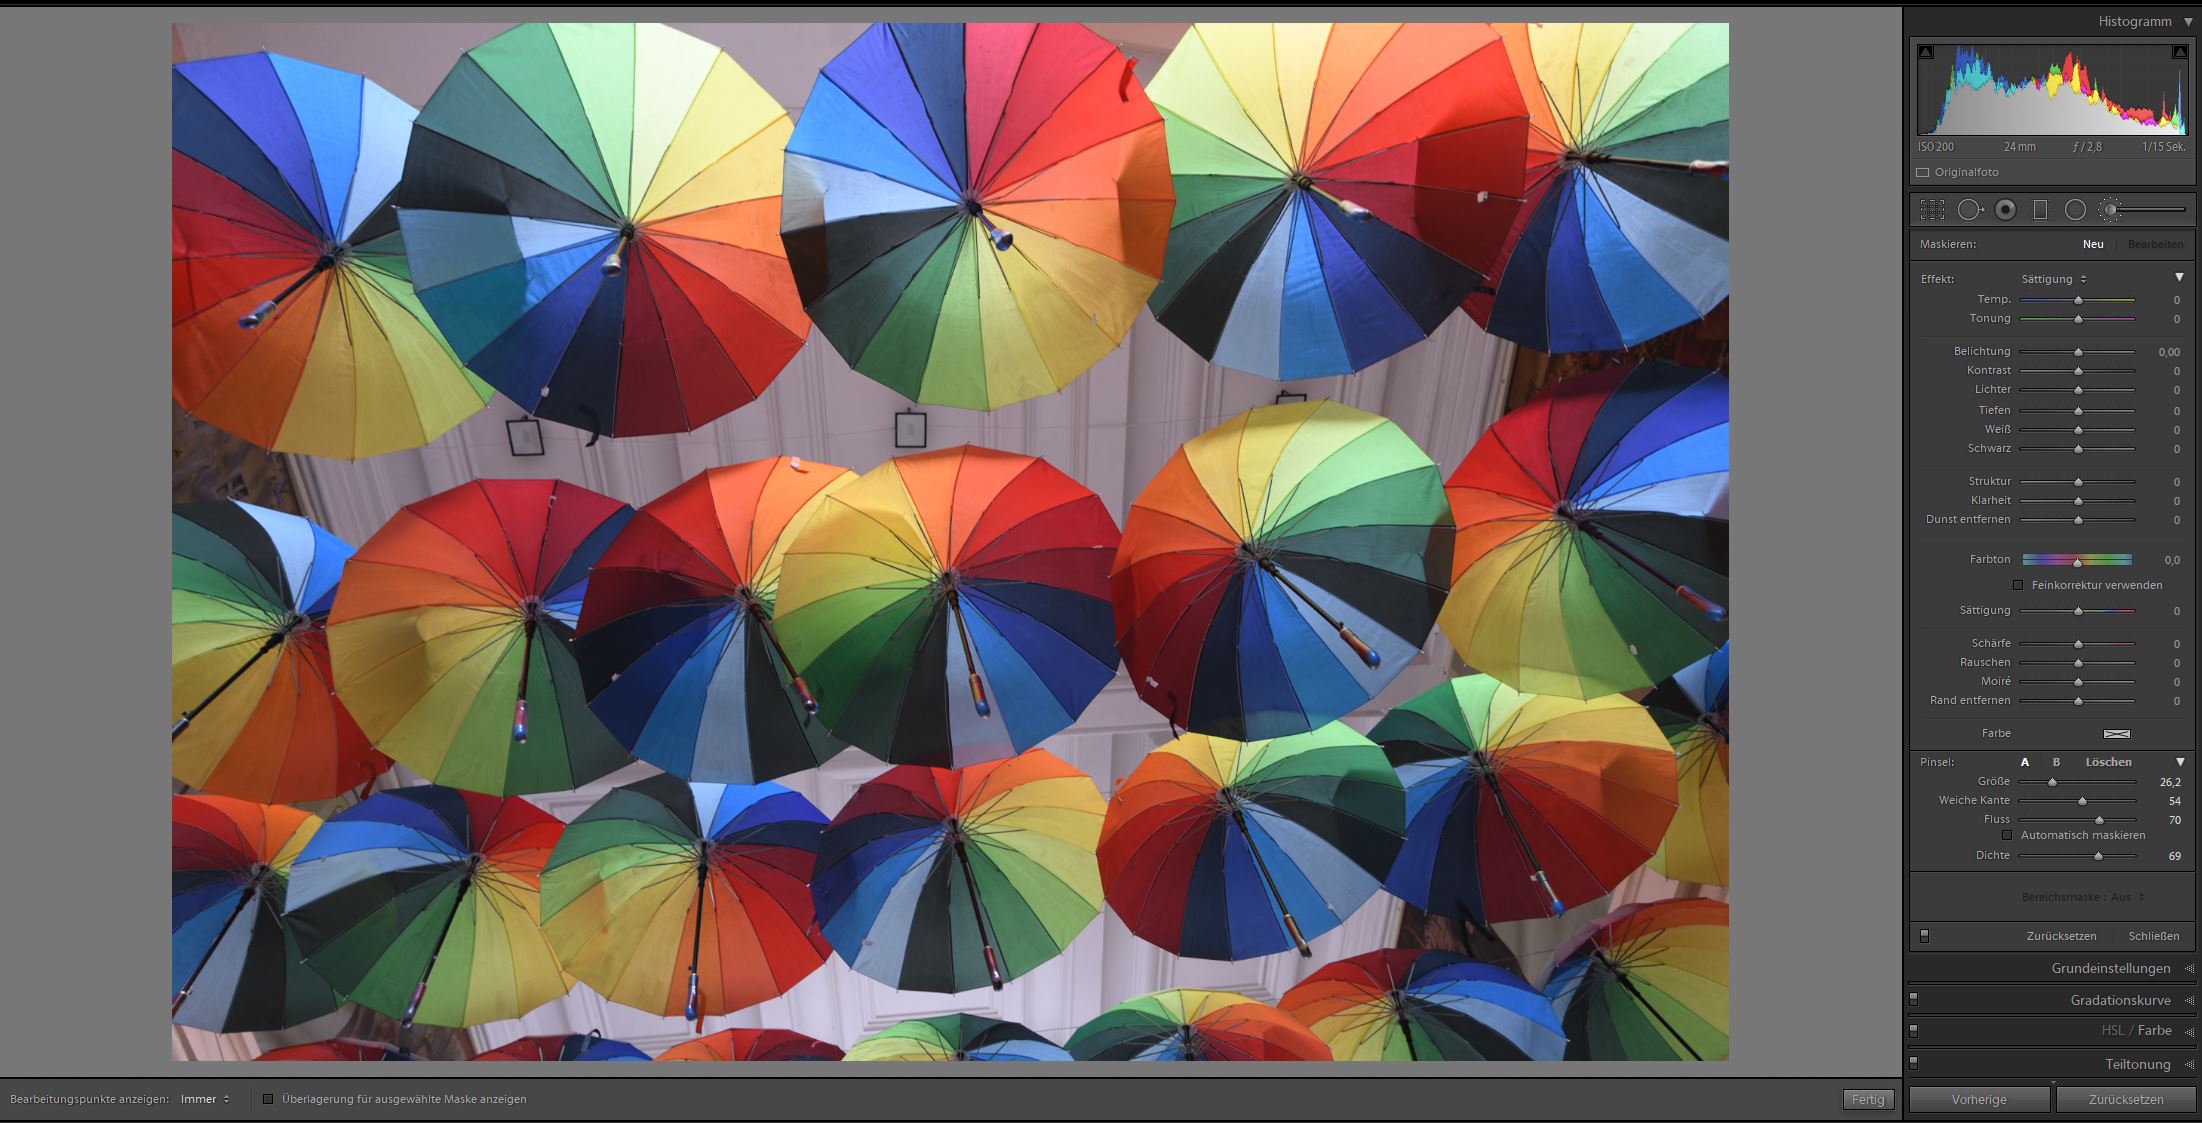
3. In the settings, choose a large brush radius, set the soft edge to zero and the density to 100. In order to "remove" the color of the photo in the following step, the saturation is also set to -100. All areas of the photo that are brushed over are desaturated. The following picture shows the half-finished picture in shades of gray, which is still missing a few brush strokes.
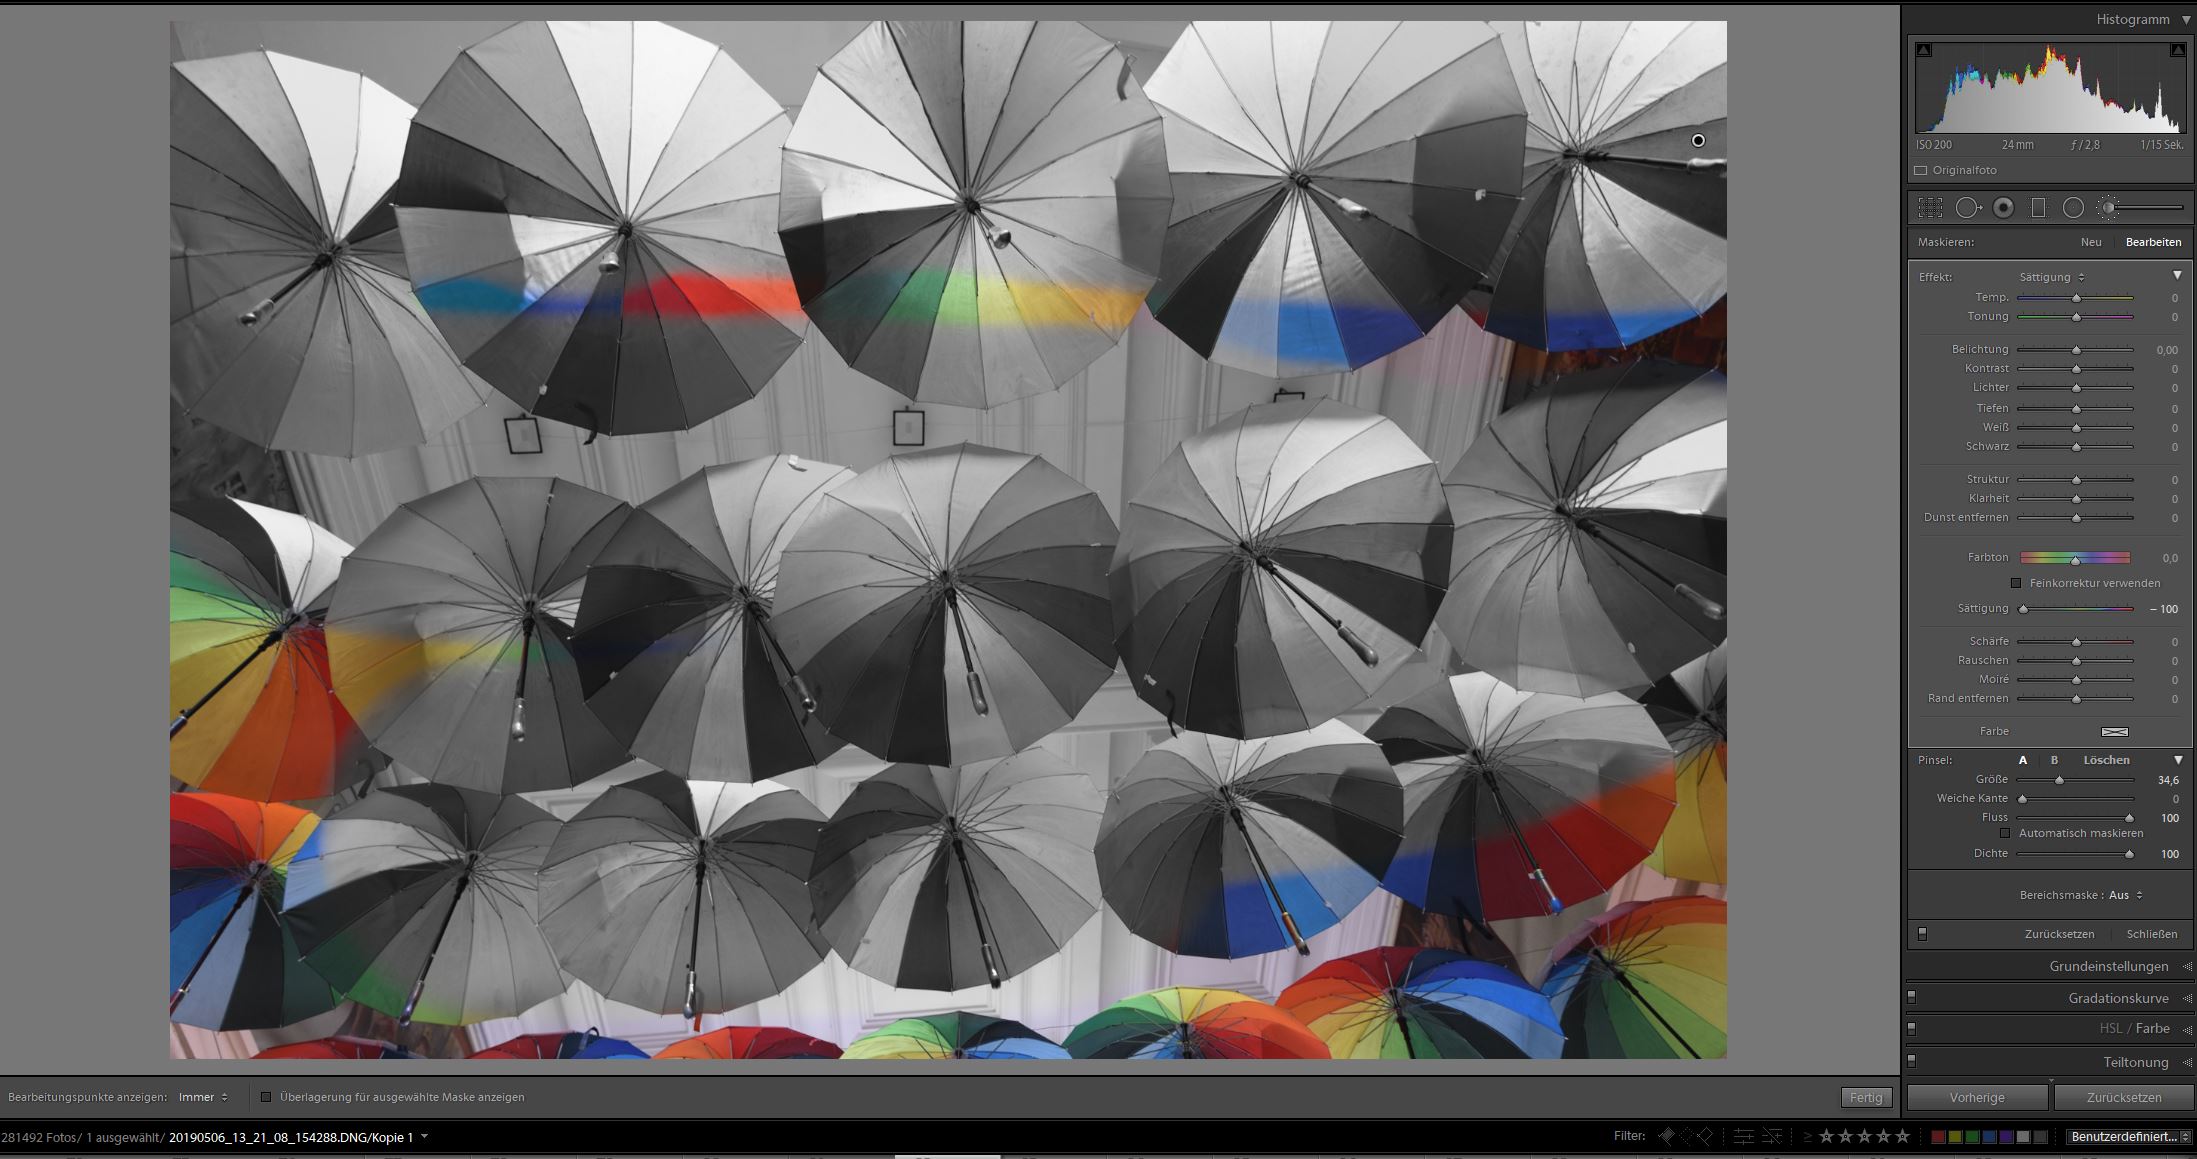
4. The "layer mask" that we placed over the image with the brush now reduces the image information to the gray values. In order to see only an area of the image with the original colors, the mask must be removed again at the desired locations.
5. To do this, select the "Delete" setting in the brush menu (in the line: A B Delete), reduce the brush size and move the adjusted brush tip over the area where the layer mask is to be removed.
In the final picture, the colored object quickly draws the viewer's attention.